
Badges
Every badge in NBA 2K27 ranked by impact — shooting, playmaking, finishing, and defense/rebounding badges with Hall of Fame grind strategies and best build pairings.
Introduction
Badges are the skill-enhancing system that defines your MyPLAYER's effectiveness in NBA 2K27. Each badge provides a specific gameplay bonus — from wider green windows on jump shots (Green Machine) to reduced shot contest impact (Deadeye) to lockdown perimeter defense (Clamps). Badges come in four tiers: Bronze, Silver, Gold, and Hall of Fame, with HoF providing the strongest effect. Your build's archetype determines which badges can reach HoF, making build-badge synergy critical. This page ranks every badge by competitive impact and teaches you how to grind badge points efficiently to reach Hall of Fame on your core badges as fast as possible.
NBA 2K27 Badge Tier Rankings
| Tier | Badge | Category | Effect |
|---|---|---|---|
| S | Clamps | Defense | Reduces opponent shot success on perimeter |
| S | Intimidator | Defense | Reduces opponent shot success in the paint |
| S | Deadeye | Shooting | Reduces contest impact on jump shots |
| S | Green Machine | Shooting | Widens green window after consecutive greens |
| S | Dimer | Playmaking | Boosts shot percentage for open teammates |
| A | Chase Down Artist | Defense | Improves chase-down block success rate |
| A | Catch & Shoot | Shooting | Boosts catch-and-shoot shot success |
| A | Unpluckable | Playmaking | Reduces steal success from ball handlers |
| B | Slithery Finisher | Finishing | Improves layup success through contact |
| C | Post Hook | Finishing | Boosts post hook shot success rate |
Badge Spotlights
Clamps
The single most important defensive badge in NBA 2K27
Deadeye
Essential for any build that shoots jump shots competitively
Green Machine
Widens green window for consecutive green releases
Intimidator
Reduces shot success of opponents in the paint
Dimer
Boosts shot percentage for open teammates
Chase Down Artist
Improves chase-down block success rate
Catch & Shoot
Boosts shot on catch-and-shoot opportunities
Unpluckable
Reduces steal success from ball handlers
Slithery Finisher
Improves layup success through contact
Post Hook
Boosts post hook shot success rate
Core Mechanics
Badges in NBA 2K27 are passive skill enhancers organized into four categories: Shooting, Playmaking, Finishing, and Defense/Rebounding. Each badge has four tiers (Bronze, Silver, Gold, Hall of Fame), and your build's archetype determines the maximum tier you can reach for each badge. Badge points are earned through gameplay and allocated manually, so choosing which badges to upgrade is a strategic decision. Hall of Fame badges provide dramatically stronger effects than Gold — often double the impact — making the HoF threshold the key competitive milestone.
Advantages
A well-optimized badge loadout can transform an average build into a competitive force. Two Hall of Fame badges on a focused build consistently outperform eight Gold badges spread thin. The tier list helps players prioritize: Clamps and Intimidator on defense, Deadeye and Green Machine on shooting, and Dimer on playmaking are the highest-impact investments per badge point. Players who follow the badge rankings reach competitive effectiveness faster because they never waste points on low-impact badges.
Challenges
Badge effectiveness varies by mode and opponent skill level. Clamps is less useful against players who never drive, and Green Machine does not help if you cannot consistently hit greens to activate it. Badge meta also shifts with patches — a shooting nerf can make shooting badges less valuable relative to defense badges. Finally, the grind to Hall of Fame is long: it can take dozens of hours of focused play to max out even two badges.
Frequently Asked Questions
What is the most important badge in NBA 2K27?+
How many badges should I max to Hall of Fame?+
Can I change my badge loadout?+
Quick Tips
Always prioritize S-tier badges to Hall of Fame before touching lower-tier badges. The power jump from Gold to HoF is massive — often 2x the effect — so a single HoF badge outperforms several Gold badges.
Create separate badge loadouts for each mode. Park rewards offensive badges, REC rewards balanced defense-plus-offense, and ProAM rewards team-oriented badges like Dimer and Brick Wall.
Grind badge points in MyCAREER games on high difficulty for maximum point gain per game. Focus on your core badge actions — shoot for shooting badges, play on-ball defense for defensive badges, assist for playmaking badges.
Featured
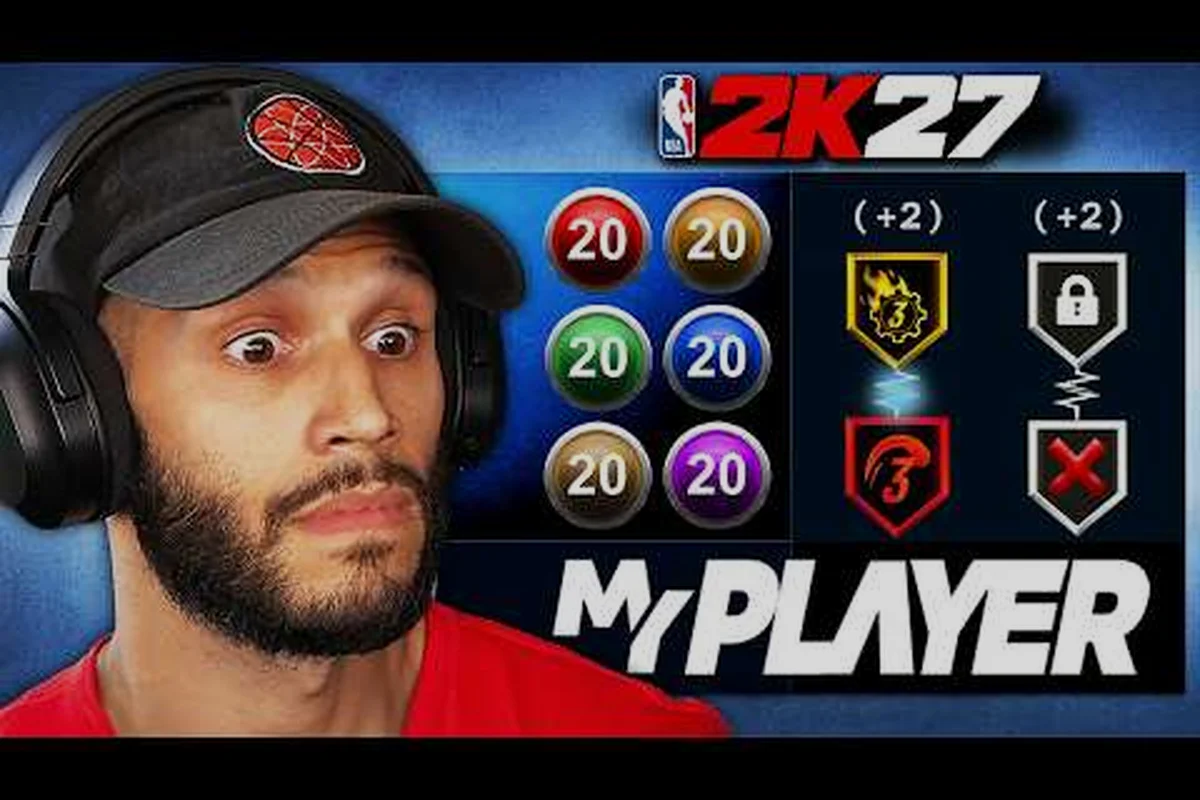
NBA 2K27 all badges list: bronze to HoF tiers and top picks
Browse the NBA 2K27 all badges list covering shooting, finishing, playmaking, and defense tiers, with the top investments worth upgrading first on any build.
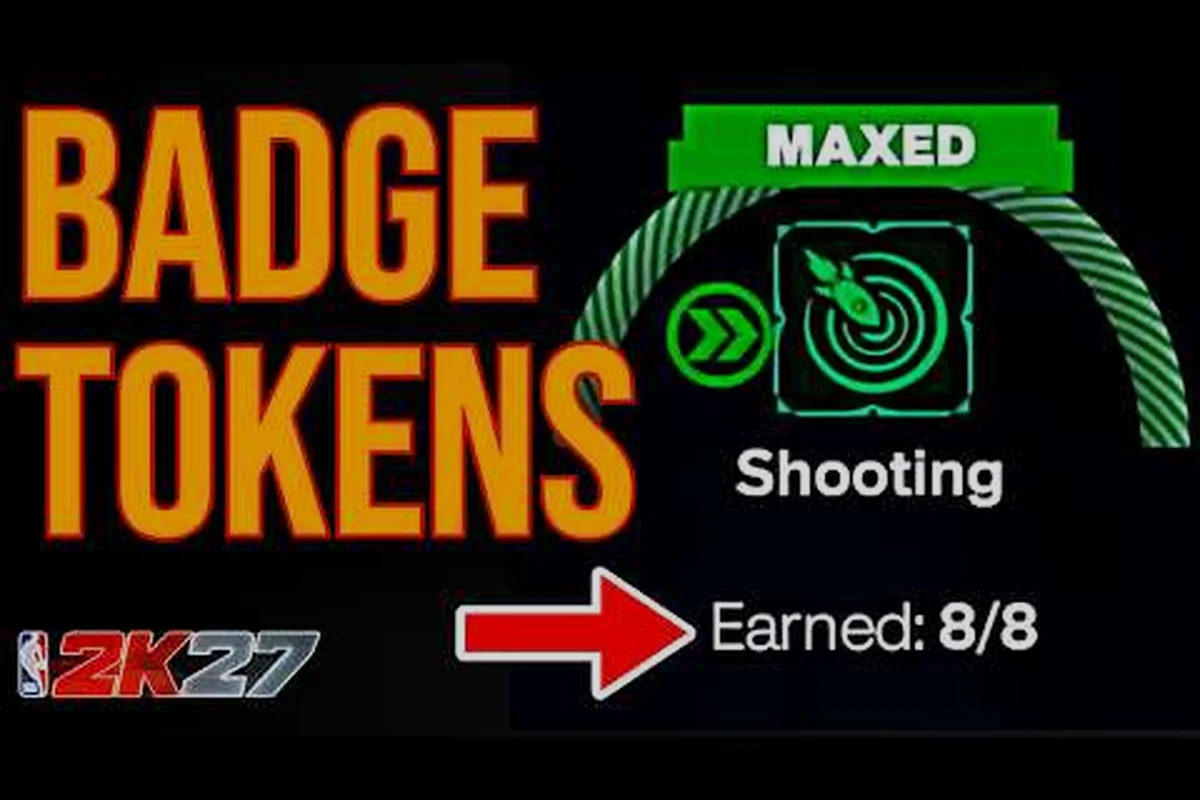
NBA 2K27 Slithery Finisher Badge: Score Through Contact
Master the NBA 2K27 slithery finisher badge with acrobatic layup timing, pro touch pairings, and fearless finisher combos that finish through paint traffic.
NBA 2K27 best badge setup: loadouts for every MyPlayer build
Build the NBA 2K27 best badge setup with stacking combos and Hall of Fame tier picks that match your archetype and push upgrades to HoF faster.
All Articles
NBA 2K27 post move phenom badge: back down and score inside
Dominate the low block with the NBA 2K27 post move phenom badge, covering leveling routes, synergy combos, and must-have picks that bully any defender inside.
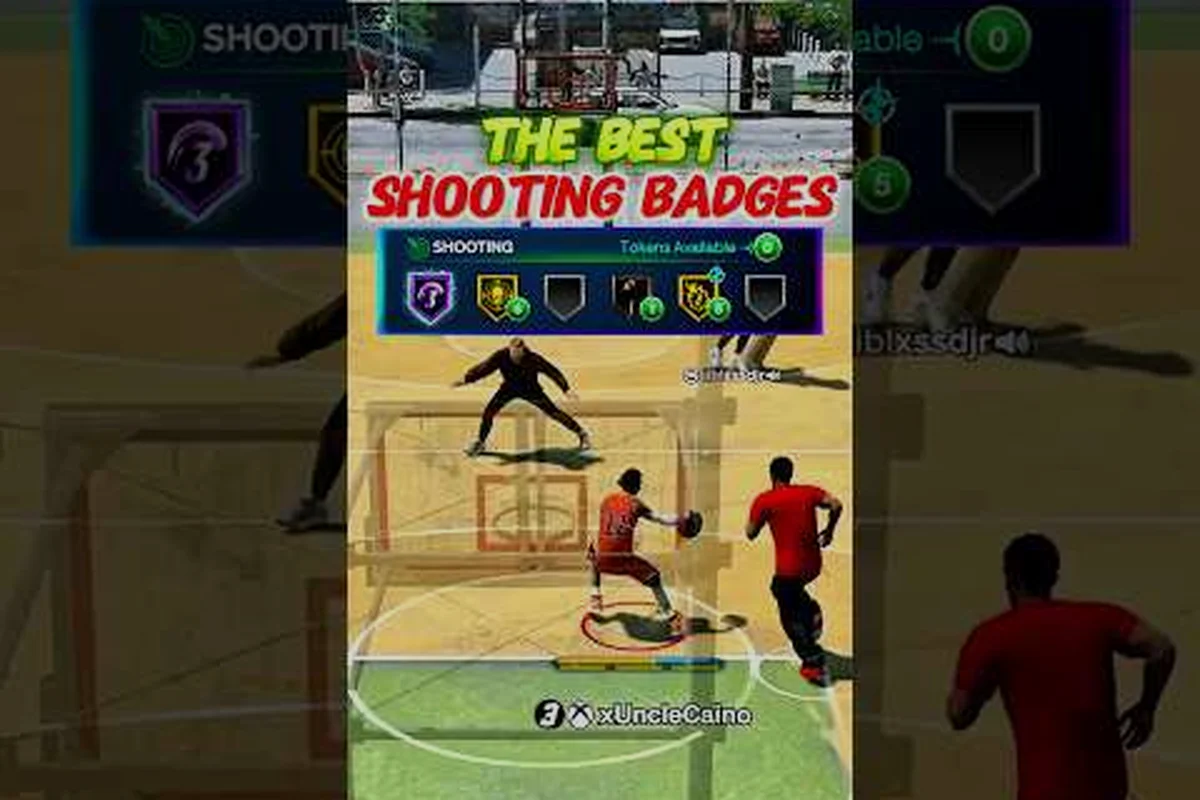
NBA 2K27 break starter badge: speed boosts and outlet timing
Spark transition offense with the NBA 2K27 break starter badge, covering downhill speed boosts, outlet pass timing, and unpluckable handles that beat defenders.
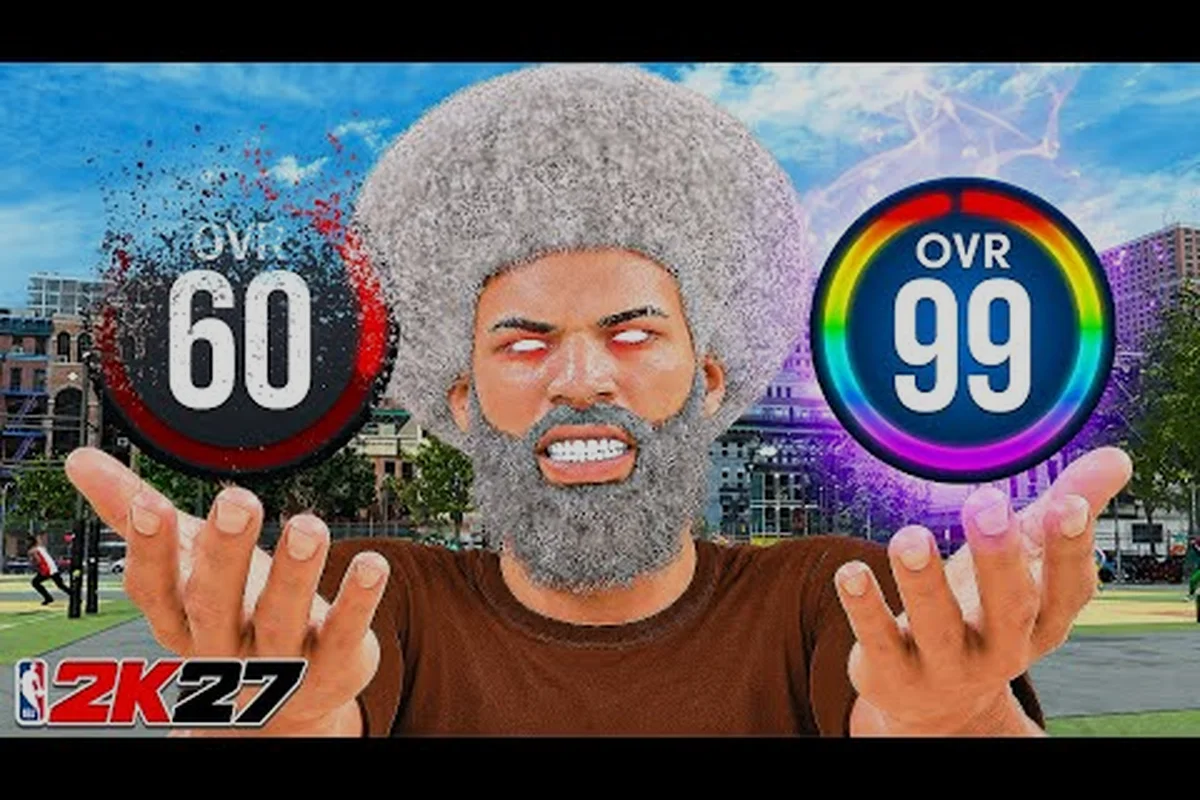
NBA 2K27 how to unlock badges and upgrade to HoF fast
Learn NBA 2K27 how to unlock badges, farm badge points efficiently, and push Gold to Hall of Fame on the most important badges for any competitive build.
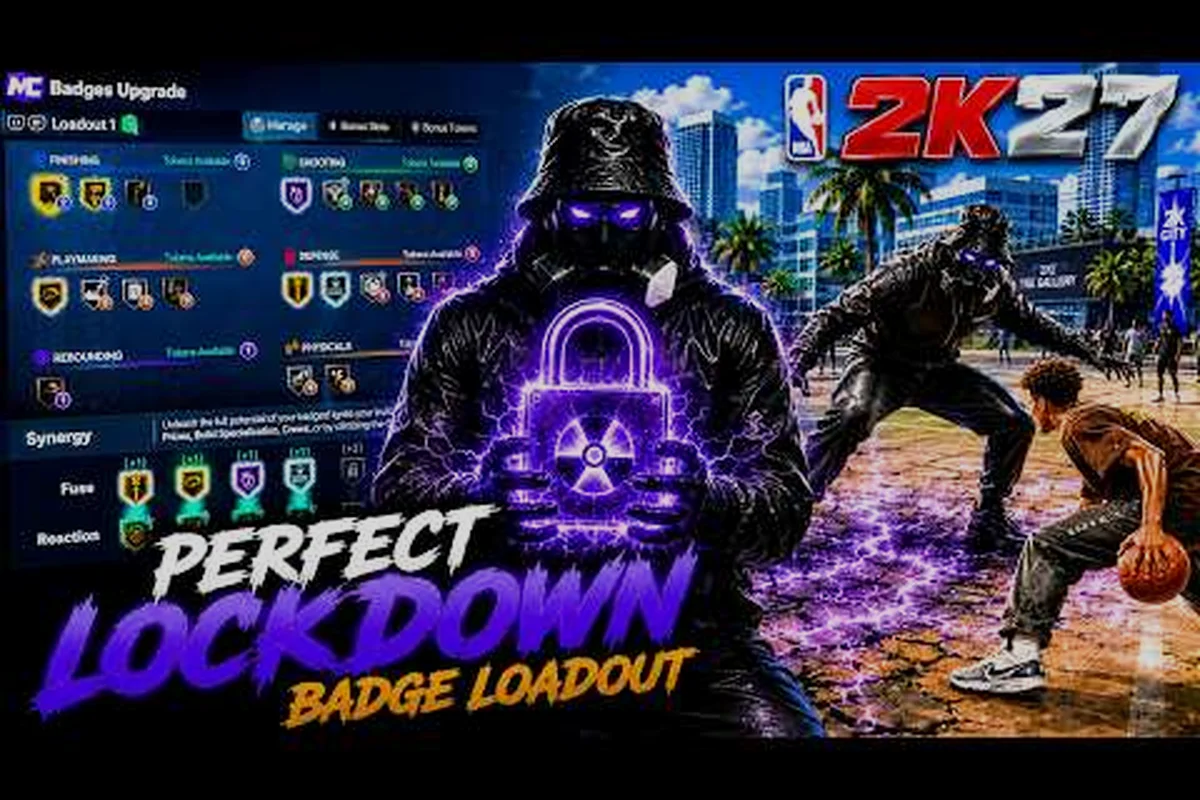
NBA 2K27 interceptor badge: swipe every pass for easy steals
Master the NBA 2K27 interceptor badge with timing windows, pick pocket pairings, and rim protector synergy that spark transition breaks nightly.
NBA 2K27 Limitless Range Badge: Drain Deep Logo Threes
Unlock the NBA 2K27 limitless range badge with deadeye stacking, difficult shot boosts, and timing tips that green contested logo threes every possession.